You're staring at a jacket you like online, your usual size is in stock, and you're still not sure. The last one in that size pinched at the shoulders. The one before swam at the waist. That's not bad luck. It's what happens when you shop by label instead of by numbers.
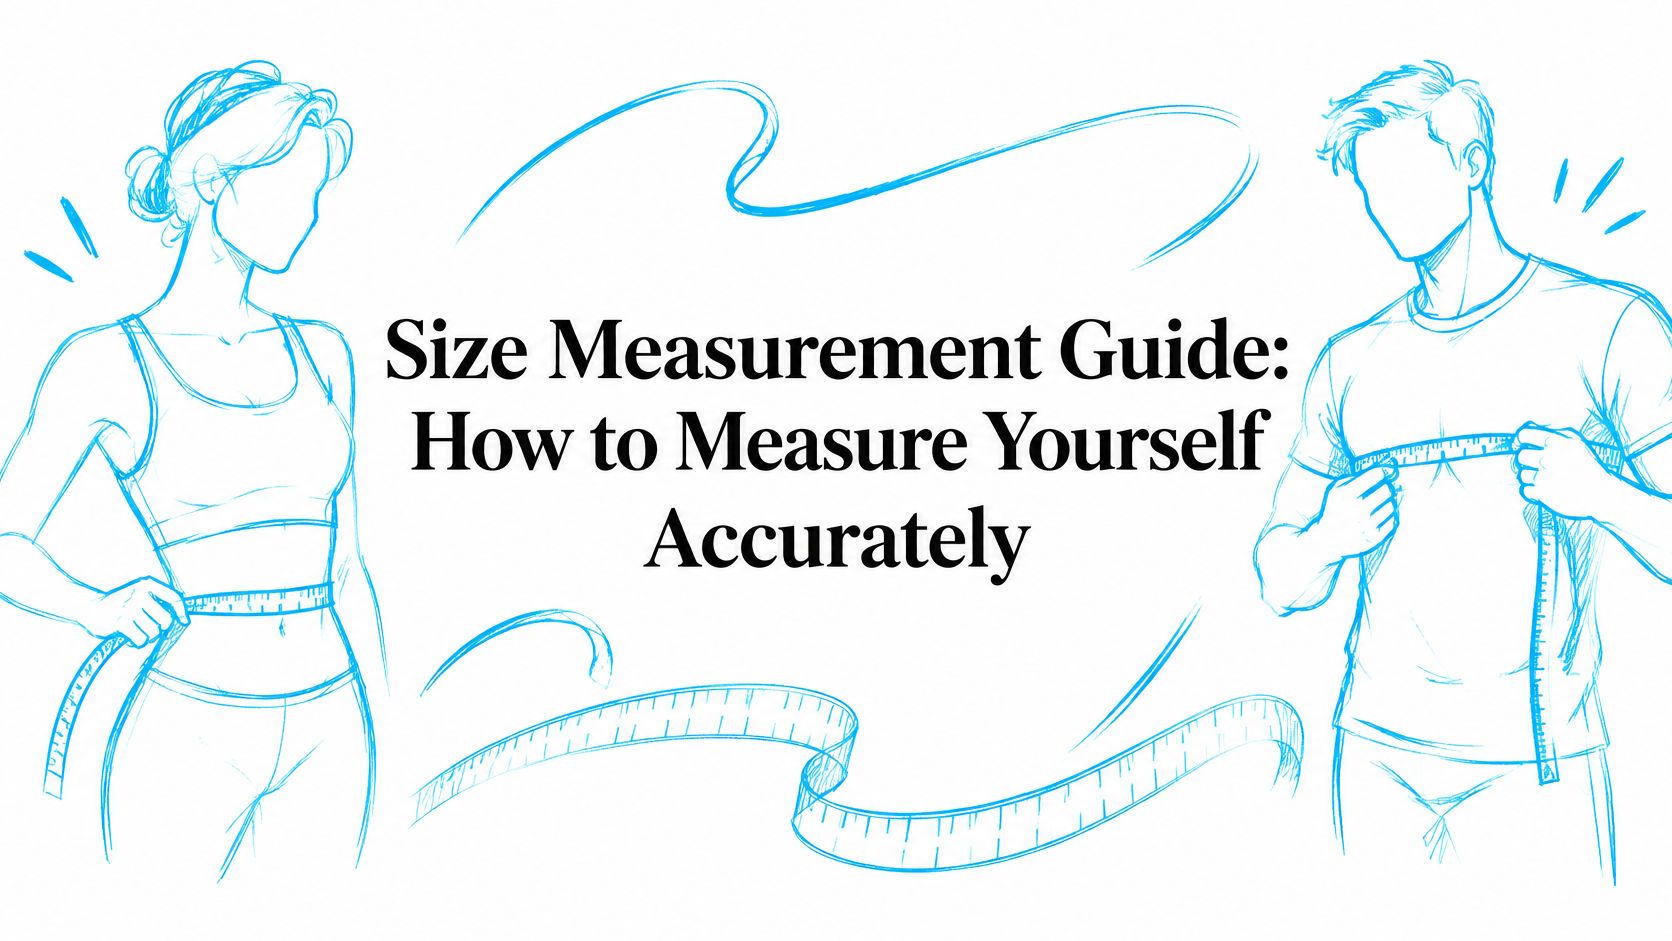
This size measurement guide gives you a better way to start. You'll take nine body measurements, learn which ones control each garment, and write them down once so you can check any chart in seconds. You don't need special skill. You need a soft tape, a flat floor, and about ten quiet minutes.
Table of Contents
Body Measurements You Need and Where to Take Them
You don't need all nine measurements for every purchase. Most garments are decided by four or five of them. Take the full set once, keep it in one place, and you'll stop re-measuring every time you shop.
If your tape is stiff, curled, or hard to read, replace it before you start. A flexible cloth or fibreglass tape that lies flat against skin makes every reading easier, and More Sewing's tape measure guide explains what to look for in a tape you can trust.
The Nine Measurements
Measurement Where to Measure Height Standing barefoot against a wall, top of head to floor Bust or chest Fullest point, tape level across the shoulder blades Underbust Directly below the bust, snug but not tight Waist Natural waist, the narrowest point above the navel Hips Fullest point around the seat, feet together Inseam Crotch to ankle along the inside leg Shoulder width Bone to bone across the back Sleeve length Shoulder point over a slightly bent elbow to the wrist Neck Base of the neck, one finger of room
Height is your base number. It sets trouser length ranges and it's the main way children's sizes are sorted, so it earns its place even if you rarely think about it as an adult.
Bust or chest decides most tops, but only if the tape stays level across your back. If it slides down between your shoulder blades, the number shrinks and the shirt will feel tight across the front.
Underbust matters for fitted dresses and bras. Take it snug, because this is a frame measurement, not a comfort measurement.
Your waist is not where your trousers sit. Find the narrowest point above your navel, usually where your body creases when you bend slightly to one side. That's the line size charts mean.
Hips means the fullest point around your seat with your feet together. Turn sideways to a mirror if you're alone. You'll see the fullest point more clearly from the side than from the front.
Landmark first, number second. If you can't point to the exact spot on your body, the reading that follows won't mean much.
Inseam sets trouser length. Run the tape from the crotch seam down the inside leg to the ankle bone. A well-fitting pair of trousers you already own makes this easier to check.
Shoulder width is bone to bone across the back. Feel for the bony points at the top of each arm. For jackets and shirts, this measurement often matters more than chest, because shoulders can't be let out later.
For sleeve length, bend your elbow slightly and rest your hand on your hip. That small bend adds the reach you'll want when you move. Measure from the shoulder point, over the elbow, to the wrist bone.
Neck is for collared shirts. Wrap the tape at the base of your neck and slip one finger underneath. That finger is your breathing room when the top button is closed.
Write every number in one list, in centimetres or inches, and stick to that unit. Don't convert in your head as you go. One clean list is the whole point of this work.
Step-by-Step Measuring for Adults and Children
A repeatable routine makes the numbers easier to compare later. For clothing, a steady tape position matters more than a long measuring session.
The Adult Routine
Choose light clothing. Wear fitted, non-bulky clothing or underwear, and remove your shoes. Extra fabric can change the reading before you start.
Stand naturally. Place your feet about hip-width apart on a flat floor, with your weight even. Breathe normally and let your stomach rest.
Keep the tape level and snug. It should stay against your body without compressing soft tissue. Check the back in a mirror or ask someone to check that the tape has not slipped or sagged.
Repeat each girth measurement. If two readings differ by more than about 1 cm (roughly 0.4 inches), take a third and compare again.
Record each result clearly. Write the unit beside the number and note which side you measured for a one-sided measurement such as sleeve length. Keep the list in either centimetres or inches.
Measure height last. Stand barefoot against a wall with your heels back and head level. Rest a flat book on your head, mark the wall, then measure from the floor to the mark.
The repeat check is a useful sign of consistency, not proof that a garment will fit. If one reading looks out of place, repeat that measurement while your stance and clothing are unchanged.
For footwear, body measurements are not enough. Use a method to measure foot length and width accurately, since shoe sizing depends on both dimensions.
Measuring Children Without the Struggle
Keep the session brief and calm. Ask your child to stand tall, take each reading without delay, and write the date beside the numbers.
Use the same person and method for repeat measurements where possible. That makes changes in the record easier to compare. Before shopping, use a kids clothing size chart guide to compare the child's latest measurements with the chart.
For toddlers who cannot stand steadily, lay them flat on a firm surface and measure from head to heel. Record that as a lying measurement, not as a direct match for a later standing-height reading.
Keep a dated log in a notebook or phone. Seeing earlier readings beside the latest ones makes an unexpected change easier to spot.
Common Mistakes That Throw Off Your Numbers
The most common mistake happens before the tape even touches you. People measure over whatever they're wearing. A padded bra lifts the bust reading. A thick sweater pads the waist. The garment you order won't have that extra bulk built in, so it arrives too big and you're not sure why.
The second mistake is pulling the tape tight. It feels more accurate. It isn't. A tight tape compresses soft tissue and shrinks the reading, so you order down and the waistband digs in. Snug means the tape stays in place when you breathe out. Nothing more.
Posture changes everything else. Leaning, hunching, or twisting to read the tape in a mirror shifts your waist and chest numbers. So does measuring your waist at the belly button instead of the natural waist, which adds an inch or more for many people.
These aren't small errors. The NIST publication on shape and size analysis and standards identifies landmark-location error, posture variation, instrument error, and differences between measurers as major sources of anthropometric error. A 2025 pilot cited there found approximately 13.2% average error for unguided manual measurements, falling to 5.7% with guidance, although the study was small and shouldn't be treated as a universal benchmark.
Habits That Fix Most Errors
Measure twice: One reading hides a bad number. Two readings expose it.
Ask for a second pair of eyes: Mirror readings are easy to misread, especially at the back.
Check your unit: Mixing centimetres and inches mid-list is more common than you'd think.
Write it down at once: Numbers held in your head drift by the third measurement.
Photos carry their own problems. A camera tilted up or down distorts proportions, loose clothing hides your shape, and shadows blur the hip line. If you're using photo-based sizing, use a plain background, fit your whole body in the frame, stand in a neutral stance, and keep your limbs unobstructed.
None of this requires a better tape. A simple checklist and a second reader do more for accuracy, and they'll also help you judge whether a brand runs true to size or whether your own numbers were off that day.
Which Measurements Matter for Each Garment
A pair of trousers can match your waist measurement and still pull across the seat. That is because each garment relies on different measurements, and some predict fit more reliably than others.
Height is a useful guide to trouser length. Seat depth is harder to predict: people with the same height and waist can have different seat shapes and torso-to-leg proportions. Treat height as a helpful starting point, then check the garment measurements for the details it cannot tell you.
Measurements That Decide Fit by Garment
Garment Measurements That Decide Fit Confidence Note Trousers and jeans Waist, hips, inseam, height for length Waist and height are useful starting points; check rise and seat shape against garment measurements Shirts and tops Chest, shoulder width, sleeve length Shoulder width is a strong fit check; chest fit depends on the cut Dresses Bust, waist, hips, height Fitted styles rely on bust, waist, and hips together; relaxed styles allow more ease Jackets and coats Chest, shoulder width, sleeve length, back length Check shoulders first because they are difficult to alter Children's clothing Height, chest, waist Height is a useful starting point; use waist as a check
For trousers and jeans, begin with waist and inseam, using height as a guide to length. Then check hips and rise against the garment's measurements. Those details help distinguish two pairs that share a waist size but sit differently.
For shirts and tops, start at the shoulders. Extra room in the chest may be comfortable, but narrow shoulders can restrict your reach. Sleeve length is another useful check, especially if the size chart gives a garment measurement.
A fitted dress depends on how bust, waist, and hips work together. The largest measurement may determine the size, but the garment's cut matters too. A relaxed dress has more ease, meaning extra room built into its shape. Compare the style description with your bust measurement rather than relying on the label alone. For bras and fitted bodices, use this guide to bra fitting measurements.
Practical rule: Use measurements that predict a garment's fit well as your starting point. Where shape or cut makes the result less certain, compare the garment's own measurements and check its stretch content.
For jackets and coats, check shoulder width first, then chest and sleeve length. Consider the layers you plan to wear underneath: a coat should have enough room over those clothes to close comfortably.
For children's clothing, use height as a starting point and waist as a cross-check. If the chart points to different sizes, look for an adjustable waistband and consider how the garment is meant to fit.
Create Your Size Profile Before You Shop
A list of numbers helps. A profile you can reuse helps more, because it puts those numbers to work every time you shop instead of sitting in a drawer.
Our free size tool asks for a front photo, a side photo, and your height, and also asks for age and gender. Your photos are processed for sizing only, and the tool clears its previews after a successful submission or when you leave the page. From your height and two photos, we create a personal Fit Profile that's used to recommend suitable products and sizes.
Check any result against your written numbers. If a body measurement disagrees with a predicted size, retake the measurement rather than overriding the result in your head. One of the two is wrong, and a fresh reading tells you which. If you're building profiles for more than one person, our guide on how to make a fit profile walks through the setup. Save a separate profile for each family member, and update children's profiles as they grow.
Before You Order Anything
Find your controlling measurement: Match the chart row to the measurement that decides that garment, not to your usual overall size.
Check what the chart lists: If it gives garment measurements, compare them with a similar garment you own that fits well. If it gives body measurements, compare them with your list.
Decide between sizes on purpose: If you fall between two, choose by the controlling measurement and the fit you want. Structured fabric argues for sizing up. Stretch fabric gives you more room to size down.
Brands differ in block, grading rules, intended ease, and fabric stretch, so a perfect set of measurements doesn't guarantee a match. Our fit recommendations are intended to assist shopping decisions and do not guarantee that a product will fit perfectly. Keep your tape measure handy and read each brand's chart against your numbers. That's not a failure of the system. That's how careful shoppers have always worked.
Turn your measurements into a reusable Fit Profile with ClothME, where two photos and your height become size recommendations you can check against your own numbers before you order. Create profiles for yourself and your family, update your children's as they grow, and shop with your controlling measurements already saved.